


There is an undeniable, hypnotic elegance to the mid-century silhouette. From the silver-screen radiance of Marilyn Monroe and Grace Kelly to the unapologetic glamour of 1950s rockabilly pin-ups, nothing defines classic retro beauty quite like sculptured, glossy waves. Yet, in our modern era of high-heat curling wands and instant-gratification styling irons, the genuine craft of hair architecture has largely been forgotten. Hot irons toast the hair cuticle, producing stiff, cylindrical spirals that inevitably fall flat within hours of exposure to British drizzle.
True vintage styling relies on an entirely different discipline: the wet set. Learning how to style vintage pin curls is the ultimate initiation into mid-century glamour. Unlike modern thermal curling, wet-setting rearranges the internal hydrogen bonds of the hair shaft naturally as it dries. The result? Luxurious, touchable elasticity, zero heat damage, and a weather-defying curl memory that can withstand days of wear. Whether you are stepping out in an authentic 1950s swing dress or simply longing to master classic Hollywood waves, this comprehensive salon-grade masterclass will guide you through the historic alchemy of setting, rolling, drying, and the all-important brush-out.
The Anatomy of an Authentic 1950s Pin Curl Set
To understand why a wet pin curl set behaves so differently from a wand curl, one must look back at post-war Britain and mid-century salon culture. Throughout the 1940s and 1950s, women visited local hairdressers weekly for a professional wash, wet set, and hood dry. At home, maintaining these sculpted architectural marvels between appointments was an essential ritual. The pin curl was not merely a decorative choice; it was structural engineering designed to transform straight or unevenly textured hair into smooth, undulating s-waves, bouncy pageboys, and structured rolls.
When you wrap damp hair around your fingers and anchor it close to the scalp, you enforce a circular mechanical memory. Because the hair fibers dry completely in this compacted tension, the internal structure of each strand solidifies into an unbreakable curve. When released, the hair does not drop into separate, stringy ribbons; instead, the individual curls fuse together under the stroke of a boar-bristle brush, creating that liquid, continuous wave synonymous with golden-age fashion magazines.
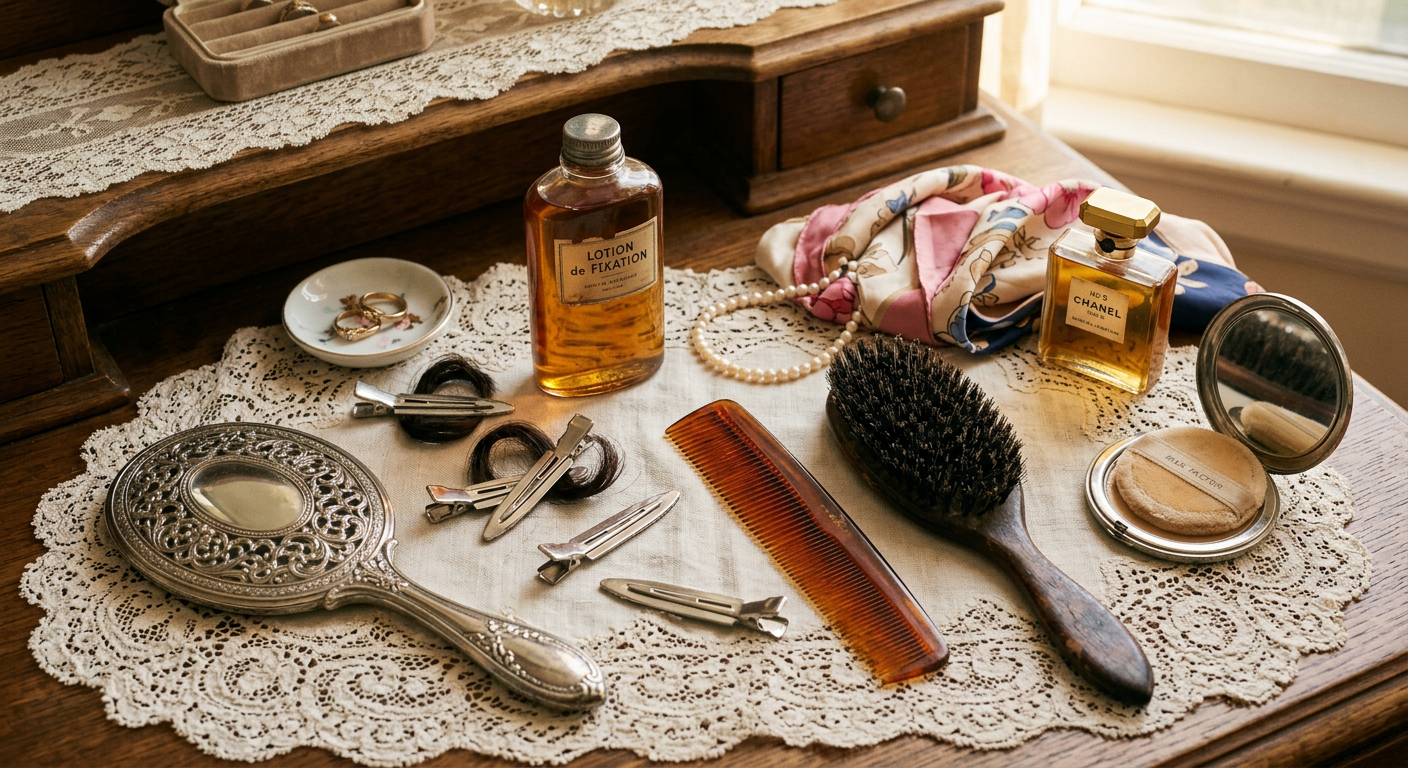
Essential Toolkit: What You Need Before You Roll
Before you part a single lock of hair, assembling the appropriate heritage toolkit is non-negotiable. Using the wrong clips—such as heavy butterfly clamps or serrated alligator clips—will press sharp, unsightly dents across your roots that no brush can erase.
- Metal Double-Prong Setting Clips: Unlike bobby pins, which pinch too tightly and bend the hair, double-prong clips slide smoothly over the curl loop, securing both sides of the base evenly without creating indentations.
- Fine-Tooth Tail Comb (Pintail Comb): Essential for clean, razor-sharp sectioning. Clean partings prevent stray hairs from pulling awkwardly while you sleep or dry.
- Authentic Setting Lotion: Traditional setting lotion (such as Lottabody or vintage-style water-dilutable elixirs) provides the slip required for seamless coiling and the firm, lacquer-smooth memory needed for the brush-out.
- Fine Water Spray Bottle: Pin curls must remain consistently damp—never dripping wet, but never dry—throughout the rolling process.
- Pure Boar-Bristle Dressing Brush: The hero tool of the brush-out. Nylon bristles create static and tear curls apart; dense natural boar bristles distribute natural oils and persuade rebellious curls into uniform, silky waves.
- Hair Pomade or Grooming Cream: A pea-sized dab of light pomade smooths flyaways, tames dry ends, and creates that mirror-like mid-century sheen.
- Chiffon Hair Scarf or Setting Hairnet: Keeps the set firmly undisturbed while drying overnight.
Flat Pin Curls vs. Stand-Up Barrel Curls: Choosing Your Shape
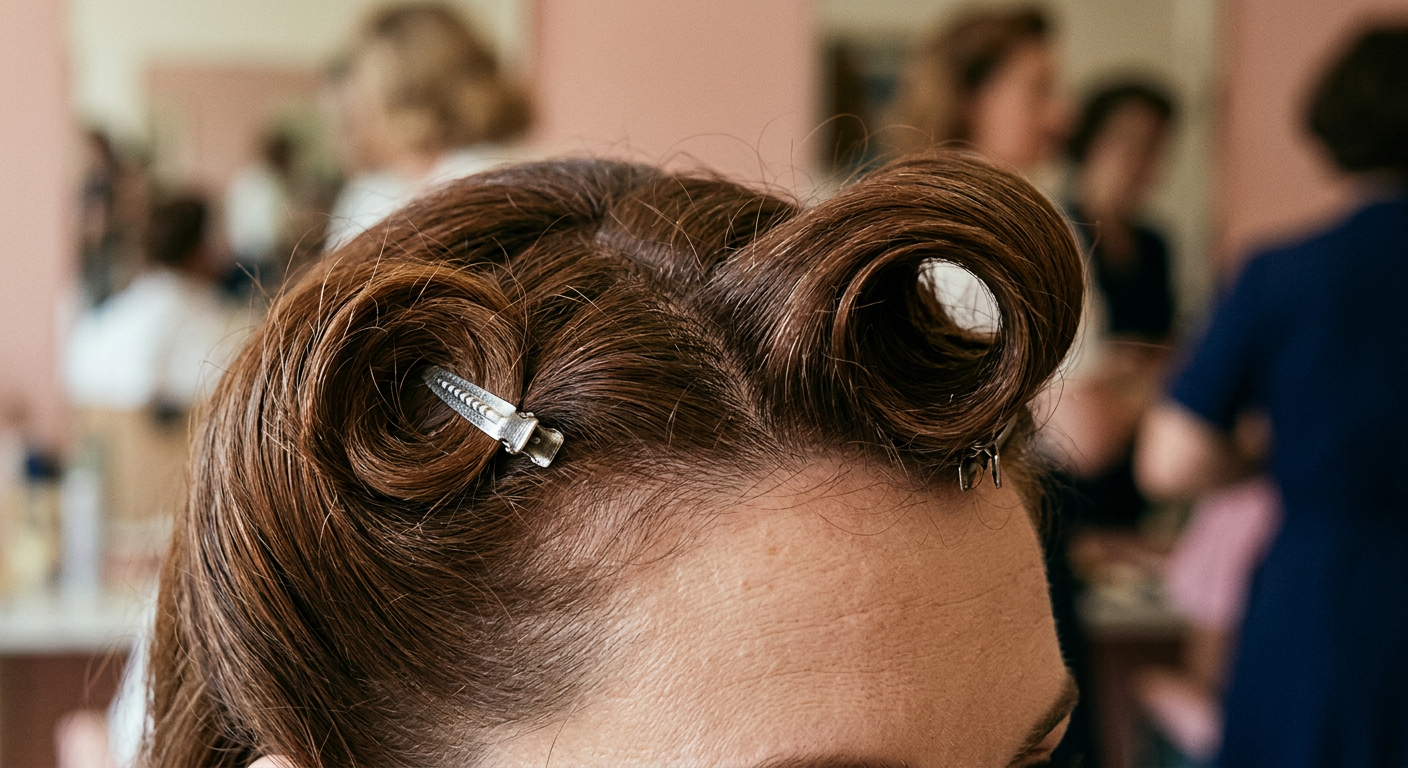
The secret to masterminding an authentic pin-up hairstyle lies in understanding the structural differences between flat pin curls and stand-up barrel curls. Many beginners roll their entire head using just one technique, only to wonder why their crown lacks height or why their neck rolls droop irregularly. Combining these two curl types is the hallmark of true mid-century craft.
1. Flat Pin Curls (The Foundation of Sleek Waves)
Flat pin curls are wound in a circular spiral and pinned entirely flush against the scalp. The clip slides directly across the center or edge of the flattened coil, anchoring it tightly to the head. Because the curl has zero elevation at the root, it creates a sleek, close-lying foundation that hugs the contours of the skull.
Best used for: The sides of the head, the nape of the neck, deep side-swept fringe waves, and classic 1940s pageboys where you desire controlled undulation rather than expansive vertical volume.
2. Stand-Up Barrel Curls (The Engine of Lift and Volume)
Stand-up curls—frequently referred to as barrel curls—resemble tiny upright cylinders sitting on their bases. Instead of laying the ribbon of hair flat against your scalp, you roll it upwards toward the ceiling, leaving an open cylindrical hollow through which you could easily slide your finger. The clip is placed horizontally through the base of the curl, elevating the hair shaft directly off the scalp at a 90-degree angle.
Best used for: The crown of the head, bumper bangs, Marilyn Monroe-style side volume, and victory roll foundations where luxurious height and bounce are paramount.
"Hair dressing in the 1950s was pure architecture. Every curl acted as a foundational keystone; change the angle by five degrees, and the entire silhouette transformed from demure schoolgirl to smouldering screen siren."
Step-by-Step Tutorial: How to Set Classic Wet Pin Curls
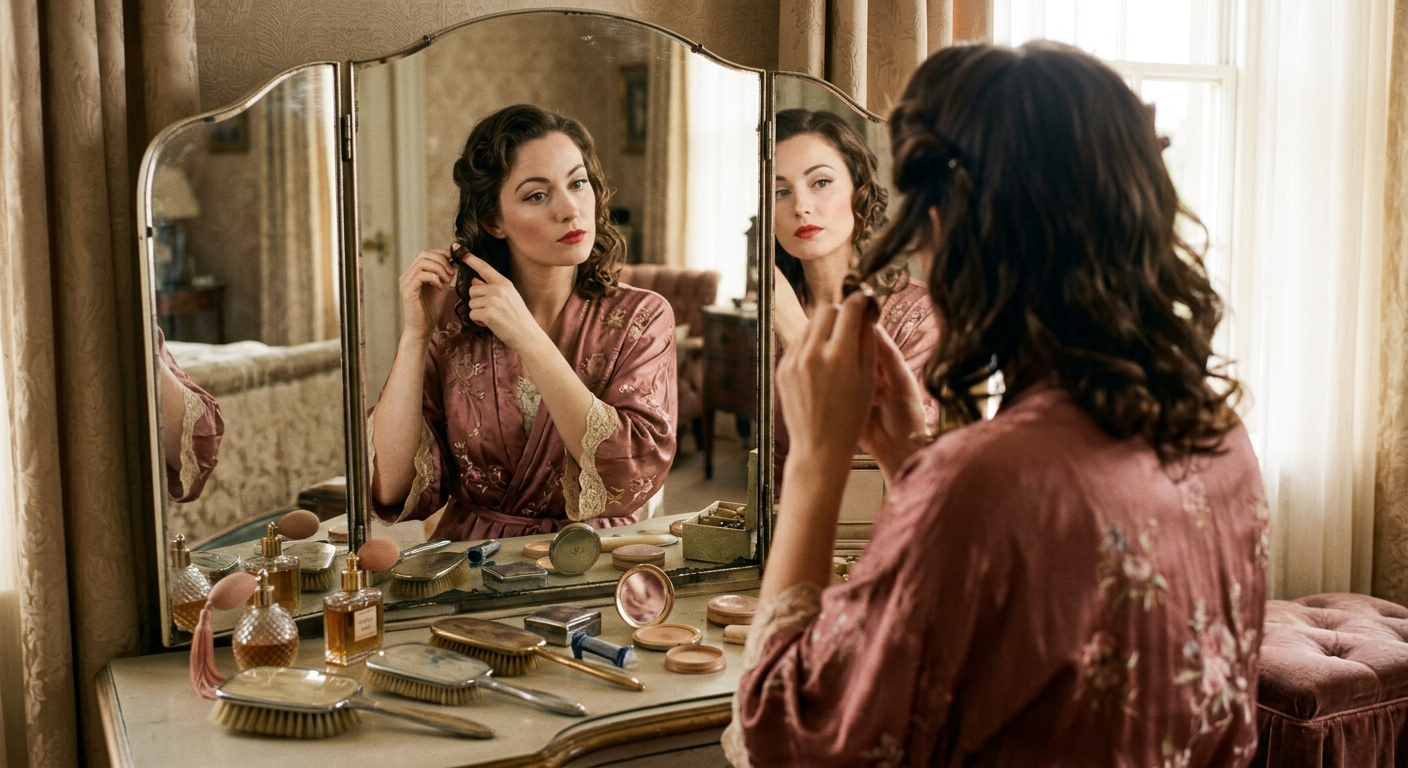
Setting wet pin curls requires patience and rhythm. Once you master the tactile motions, your hands will find a natural flow. Allocate approximately 30 to 45 minutes for a full head set, preferably in the evening before bed or on a quiet afternoon.
Step 1: Prep the Canvas
Begin with clean, towel-dried hair. Your locks should feel damp to the touch, like freshly spun silk, but not so saturated that water drips when squeezed. If your hair is too wet, drying will take an eternity and the curl structure may soften before it sets. If it is too dry, frizz will occur during the brush-out.
Step 2: Saturate with Setting Lotion
Apply your setting lotion evenly from roots to tips. If you are using a concentrated professional formula, dilute it with water according to your hair texture (coarser hair demands a richer ratio; fine hair thrives on a featherlight mist). Comb through meticulously with a fine-tooth comb to ensure uniform distribution. The comb should glide effortlessly, leaving the hair sleek, glassy, and completely tangle-free.
Step 3: Map Out Your Parting and Sections
Using the pintail of your comb, carve your desired part. A deep, dramatic side part—aligned with the arch of your eyebrow—is the definitive 1950s pin-up placement. Divide your hair into clean horizontal tiers, clipping away the upper sections while you work through the lower nape. Sections should measure approximately 1 inch by 1 inch (2.5 cm). Taking sections that are too thick will prevent the center of the curl from drying and produce weak, shapeless waves.
Step 4: Ribboning the Strand
Before rolling, execute the historic technique known as ribboning. Hold the individual hair strand firmly near the roots with one hand, then place the tail comb at the root and gently scrape down the length under firm thumb tension—much like curling a decorative gift ribbon with scissors. Ribboning aligns the cuticles, expels microscopic air pockets, and ensures the ends of the hair will tuck cleanly into the center of the coil without crinkling (the dreaded "fish-hook" ends).
Step 5: Coiling and Rolling
Place your index finger (or index and middle fingers for a looser barrel) at the tips of the ribboned strand. Smoothly roll the ends around your fingertips to establish the circular core. Continue rolling the coil up toward the scalp, ensuring the curl retains a uniform width and doesn't twist into a spiral rope. It must roll like a rolled carpet: flat, tidy, and centered.
Step 6: Anchoring with the Double-Prong Clip
Gently slide your finger out from the center of the loop, keeping the coil intact between your thumb and forefinger. Slide a metal double-prong clip across the base of the curl. For flat curls, insert the clip from the direction of the face towards the back, securing the curl flat to the head. Ensure the clip catches a tiny pinch of scalp hair beneath the coil to prevent it from swinging or loosening.
Complete Your Retro Transformation
Nothing showcases a breathtaking vintage brush-out quite like an authentic 1950s silhouette. Explore our curated range of British-designed rockabilly swing dresses, twirling petticoats, and retro chiffon vanity scarves.
Discover the CollectionMastering the Roll Direction: Clockwise, Counter-Clockwise, and Alternating
One of the most frequent mistakes made by beginners is rolling all curls in a single, haphazard direction. The rotation of each curl dictates where the resulting wave curves forward toward the cheek or sweeps backwards off the face. By strategically planning your directions, you create harmonious, symmetrical cascades.
- Curling Toward the Face (Inward): Rolling the curls down and toward your facial features yields an intimate, sultry framing. This is ideal for side curls resting on the cheekbone or framing the jawline in a vintage bob.
- Curling Away from the Face (Outward): Rolling upward and backwards off the forehead creates that majestic, windswept Hollywood wave (think Veronica Lake or Rita Hayworth) that opens up the cheekbones and eyes.
- Alternating Rows (The Classic S-Wave Formula): For deep, undulating water waves across the back and crown, set your first horizontal row rolling clockwise, and the row immediately below it rolling counter-clockwise. When brushed out, these opposing forces snap together into dramatic, rhythmic peaks and valleys known as the authentic Marcel or S-wave pattern.
The Golden Rule of Drying: Sleeping in Curls or Hood Dryers
If there is one cardinal, unbendable law of the vintage wet set, it is this: your hair must be 100% bone dry before you touch a single clip. If even 2% moisture lingers within the core of your pin curls, the moment you begin the brush-out, your hair will immediately drop into an unstructured, frizzy cloud. There are no shortcuts in wet-setting; patience is your most vital beauty asset.
Method A: The Overnight Sleep Set
Sleeping in pin curls is a rite of passage for every vintage aficionado. To make the experience comfortable and protect your hard work:
- Ensure your clips lie as flat as possible against the scalp. Avoid stacking clips on top of one another.
- Cover your entire head with a fine triangular setting hairnet, tying the ends securely at the forehead.
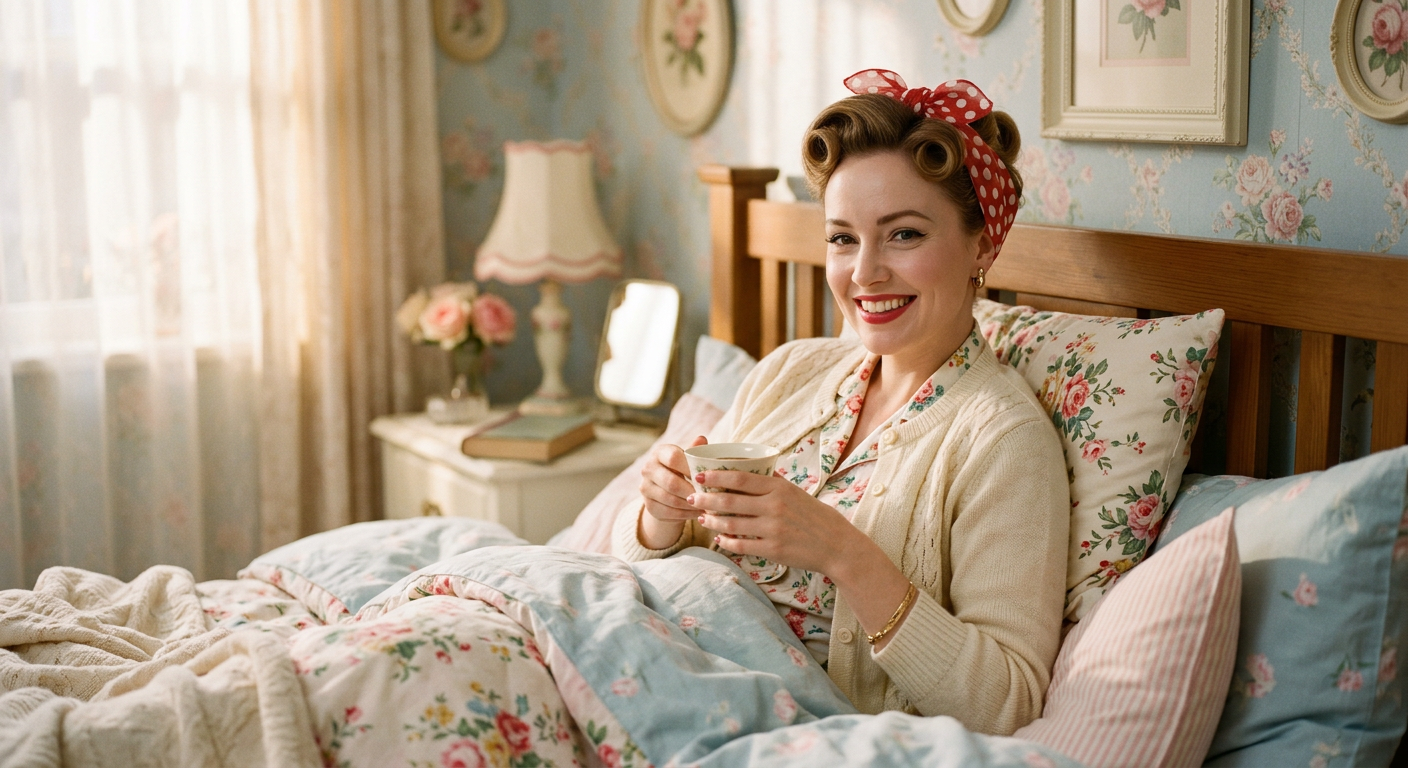
- Wrap a soft vintage silk or chiffon scarf over the net, knotting it elegantly at the crown in true Rosie the Riveter fashion. This minimizes friction against your pillowcase and prevents loose prongs from snagging.
- Sleep on a satin or silk pillowcase to eliminate friction. If the back of your head feels tender, sleep slightly on your side with a plush pillow supporting your neck.
Method B: The Vintage Hood Dryer or Soft Bonnet
If you lack the time or inclination to sleep in clips, modern soft bonnet dryer attachments (which slip onto any standard handheld hair dryer) are an exceptional investment. Forty-five to sixty minutes beneath gentle, indirect warm airflow will dry an entire pin curl set thoroughly. Finish with five full minutes of cool air to lock the hydrogen bonds into place, then let the hair rest for fifteen minutes until the clips feel cool to the touch before removing them.
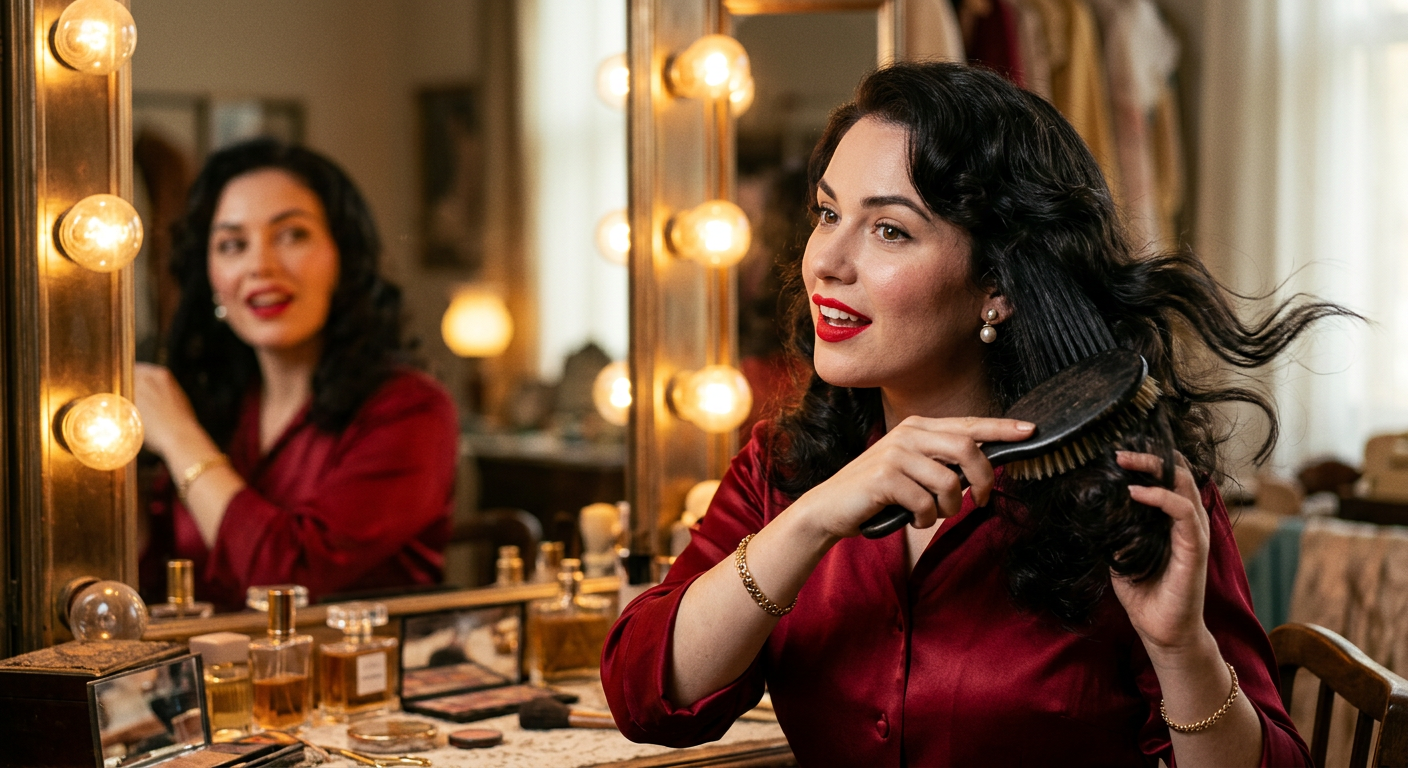
The Magic Brush-Out: Transforming Tight Ringlets into Sculpted Waves
The brush-out is where amateur retro fans often falter and vintage connoisseurs shine. When you slide the last metal clip from your hair, you will be confronted with tight, sprangly, comedic ringlets that look remarkably like 18th-century court wigs or Shirley Temple. Do not panic. This is precisely how they are supposed to look. The curls must be excessively tight so that they have the architectural stamina to be sculpted into wide, flowing waves.
Phase 1: The Initial Finger Rake
Coat your fingertips with a micro-drop of hair oil or lightweight pomade. Gently separate each ringlet with your fingers, breaking apart the crunchy "cast" left behind by the dried setting lotion. Run your fingers from roots to tips to awaken the volume without disturbing the overall direction.
Phase 2: The Vigorous Boar-Bristle Sweep
Take your pure boar-bristle brush and begin brushing through your hair decisively. You must brush much harder and longer than you think. Brush down from the roots, through the lengths, right down to the ends. At first, the hair will expand into a wild, voluminous mass. Continue brushing rhythmically. Within two to three minutes, the individual curl ribbons will begin to "find" each other, snapping into uniform collective ridges.
Phase 3: The Supporting Palm Technique
To coax your waves into crisp, defined peaks, place your free palm flat against the inside of the hair as a firm backboard. As your brush sweeps downward over the surface, press the brush against your palm, allowing the hair to curve over your knuckles. Where the hair indents, use the side of your hand to press inward; where it curves outward, brush smoothly over the ridge. This traditional salon movement instantly awakens dramatic depth in your wave troughs.
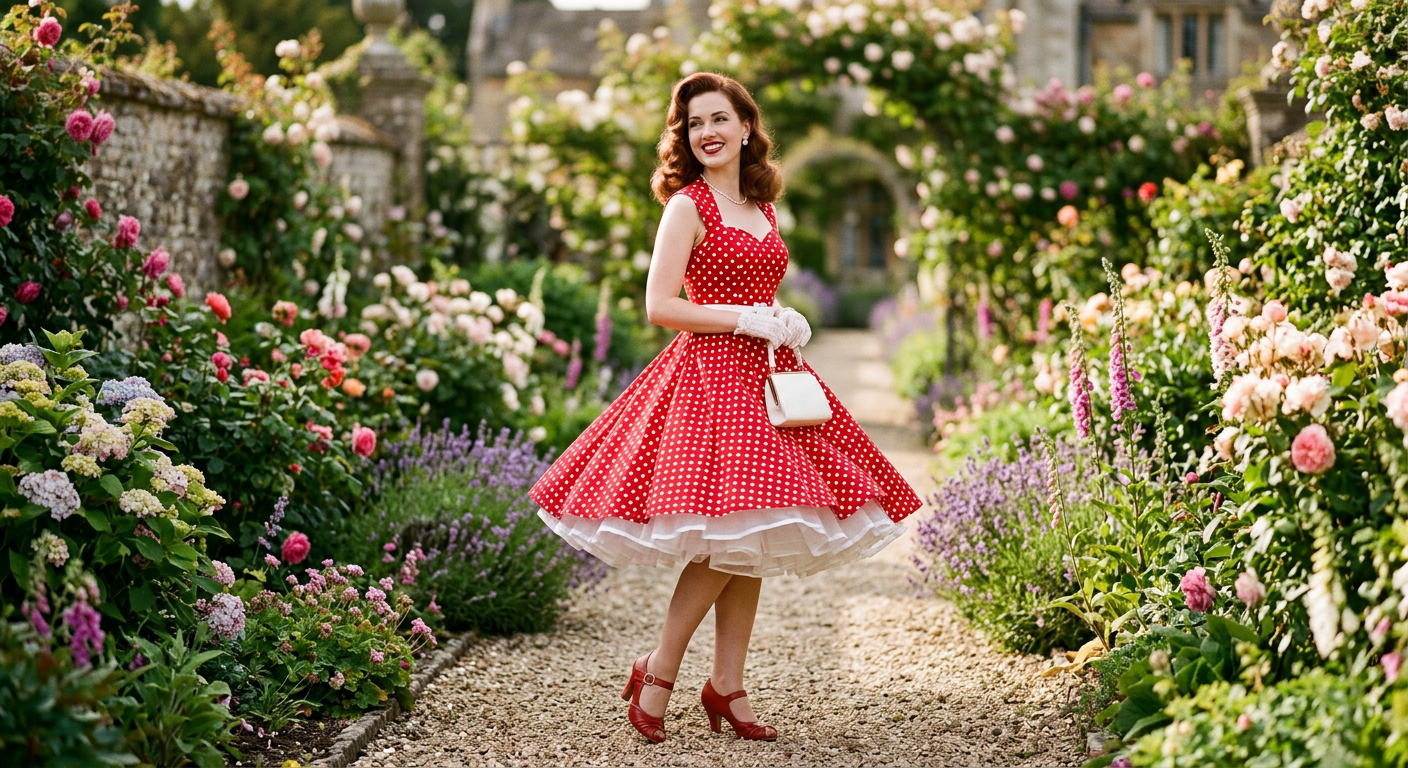
Sculpting and Finishing: Hair Pomade, Wave Clamps, and Setting Spray
Once your wave architecture is visible, the final stage is preservation and polish. Mid-century hair was characterized by clean edges, mirror-like gloss, and immaculate cleanliness of line.
To give your waves extraordinary definition that lasts through wind and dancing, slide long, flat metal wave clamps directly into the indentations (troughs) of your S-waves right after brushing. Mist lightly with vintage-formula medium hairspray, let sit for ten minutes while you apply your red lipstick, and gently unclip. The ridges will remain razor-sharp all evening.
Warm a pea-sized dab of conditioning styling pomade between your palms until it melts entirely. Lightly glaze your hands over the outer surface of your hair to banish flyaways, then use your index finger to define the ends of the curls, tucking them neatly into a continuous under-roll or flipped-out pageboy. Lock the entire arrangement with an aerosol hairspray that offers a touchable, flexible hold rather than a brittle plastic lacquer.
Matching Your Pin Curl Waves with Classic 1950s Outfits
A masterfully executed pin curl set deserves an outfit of equal historic pedigree. The harmony between mid-century hairstyling and fashion lies in proportional balance. Because 1950s hairstyles tend to frame the face and sit cleanly off the collarbones, they naturally complement the iconic fashion silhouettes of the era:
- The Full Circle Rockabilly Swing Dress: Soft, rippling S-waves resting at collarbone level provide the ideal feminine counterpart to the dramatic volume of a belted 1950s swing dress layered over a crisp petticoat. Add a matching chiffon neckerchief or a faux hibiscus hair flower pinned over one ear just above the deep side part.
- The Sleek Pencil Wiggle Dress: If you have sculpted high-drama stand-up barrel curls with sleek, close-cropped sides, pair this sharp, sophisticated profile with a tailored mid-century wiggle dress. The structured shoulder lines and hourglass tailoring mirror the architectural precision of your hair.
- High-Waisted Cigarette Trousers and Freddies: For an effortless, casual 1950s weekend ensemble, roll your front fringe into a bumper bang using barrel pin curls, brush the back into a soft ponytail tied with a polka-dot scarf, and finish with high-waisted denim jeans and ballet flats.
Step into Authentic 1950s Style
Bring your vintage hair transformation to life with our handpicked selection of 1950s dresses, petticoats, retro headwear, and rockabilly accessories at Louise Vintage.
Shop Vintage DressesTroubleshooting Common Pin Curl Disasters
Every vintage hair stylist has encountered a set that went astray. If your curls do not turn out magazine-perfect on your first attempt, review this essential troubleshooting guide to pinpoint where the process went awry:
| Symptom | Root Cause | The Immediate Solution |
|---|---|---|
| Severe dents across roots | Using serrated bobby pins or sliding clips over the curl at an awkward angle. | Switch to smooth double-prong metal setting clips; insert clips flat along the scalp line without pinching the hair loop. |
| Crinkled, frizzy ends ("Fish-hooks") | Ends were not smoothed or were folded improperly when starting the initial roll. | Use the ribboning technique with your pintail comb, ensuring the delicate ends are fully tucked into the circle before coiling. |
| The set fell flat within two hours | The hair was unclipped while damp, or insufficient setting lotion was used. | Wait until hair is 100% bone dry. If in doubt, blast with a warm hair dryer for 10 minutes, cool down, then unpin. |
| Uncontrollable poof/frizz upon brushing | Using a plastic or synthetic brush, or not brushing persistently enough. | Switch immediately to a 100% boar-bristle brush, smooth a pea-sized amount of pomade through the canopy, and continue brushing firmly. |
Frequently Asked Questions
- Do I really need setting lotion for pin curls?
- Yes. Setting lotion provides damp hair with the structural "memory" required to hold sculptured vintage curls once dry. While light mousse works in a pinch, traditional setting lotion gives that iconic glossy, firm, touchable bounce characteristic of 1950s styling without greasy or sticky residue.
- What is the difference between flat pin curls and stand-up pin curls?
- Flat pin curls sit flat against the scalp and yield sleek, rippling waves or structured pageboys. Stand-up (or barrel) pin curls are rolled upward and pinned perpendicular to the scalp to generate dramatic lift, root volume, and bouncy Hollywood rolls.
- Can I do pin curls on dry hair or does it have to be wet?
- Wet setting on damp (not soaking wet) hair gives the longest-lasting, crispiest vintage curl definition. However, if you are short on time, dry pin curls set with hot rollers or curling tongs and allowed to cool completely while pinned will still achieve a lovely retro silhouette.
- How do I make my vintage pin curls last for several days?
- Brush through carefully each morning using a natural boar-bristle brush, smooth flyaways with a touch of pomade, and slip on a silk bonnet or wrap your hair in a vintage chiffon scarf before bed. A well-set pin curl can easily last 3 to 5 days with minimal morning touch-ups.
- How much length will I lose once my pin curls are brushed out?
- Pin curls naturally shorten hair by 30% to 50% due to the tight vertical bounce. If your hair is shoulder-length, expect a bouncy 1950s mid-neck bob; longer hair will settle into luxurious cascading waves or Marilyn-style shoulder rolls.
- Why are my pin curls so frizzy when I brush them out?
- Frizz during the brush-out is almost always caused by one of three things: unpinning the hair while it was still slightly damp, using a synthetic plastic brush instead of natural boar bristles, or stopping the brush-out too early before the individual curls had the chance to coalesce into uniform wave ribbons.
Mastering the art of vintage pin curls is more than a styling routine—it is a tactile connection to an era where elegance, patience, and personal glamour were celebrated arts. The first time you pick up your tail comb and setting clips, it may feel clumsy; but with each set, your hands will cultivate precision. Once you experience the unparalleled joy of a brush-out that effortlessly cascades into mirror-like waves, you will never look at a high-heat curling wand the same way again. Embrace the ritual, slip into your favourite Louise Vintage swing dress, and wear your curls with the poise of a true mid-century icon.